Are you looking for a simple way to periodically back up your data? Check out the Apple Time Capsule. It integrates easily with the Time Machine backup on your Mac, and offers ample space for storing all of your data.
See also
How to insert a check mark in Microsoft WordHow to do small caps in Microsoft WordHow to center text in Microsoft WordHow to merge cells in Microsoft Word tablesHow to insert a square root symbol in Microsoft Word
Save More Frequently with AutoRecover in Word 2011
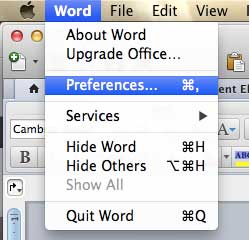
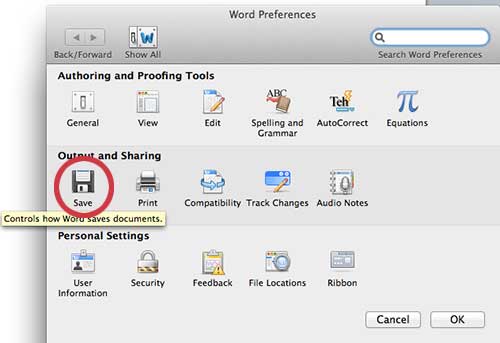
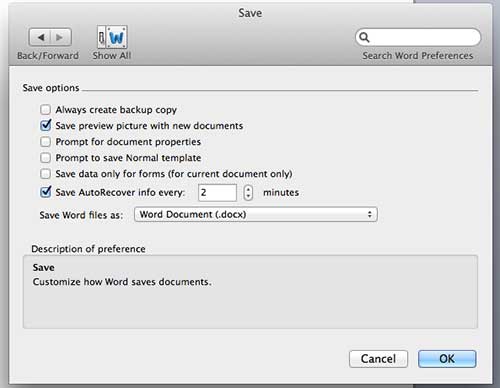
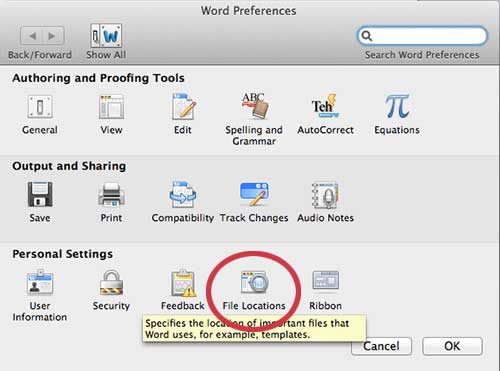
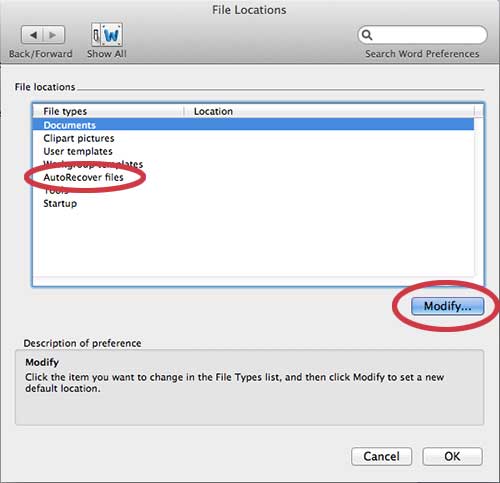
There are some important things to consider before you start relying on AutoRecover, however. It is not meant as a substitute for actually saving your files. It is there in the event that your computer shuts down, Word crashes, or some other unexpected event occurs. Additionally, if you close a document and click the Don’t Save option, any AutoRecover files for that document will be deleted. Step 1: Open Word 2011, or open an existing Word document. If you are opening the Word application, you will also need to choose a template or document type. Step 2: Click Word at the top of the screen, then click Preferences. Step 3: Click the Save icon in the Output and Sharing section. Step 4: Click inside the box to the right of Save AutoRecover info every, then enter a new value. The default is 10, but you can go as low as 1. In the image below, for example, I have set AutoRecover to run every 2 minutes. Step 5: Click the OK button at the bottom of the window. If Word crashes, you will typically be asked if you want to open the AutoRecover document the next time you launch Word, or they can be found in the Open Recent list on the File menu. If you are not prompted with the AutoRecover file or it is not shown on the Open Recent list, you can click the Spotlight Search icon at the top-right corner of the screen, then type AutoRecover or a document keyword into the search field. For some users, AutoRecover may not be functioning properly because an AutoRecover location is not set. You can manually set an AutoRecover location by clicking the File Locations option on the Word Preferences menu, Then clicking the AutoRecover files option, clicking Modify, then choosing the folder where you want your AutoRecover files to be stored. If you also use Microsoft Excel, you may have run into situations where people to whom you send your files cannot open them. This is because they are using an older version of Excel and have not installed the Compatibility pack. You can choose to save to the .xls file type by default so that people using older versions of Excel can open your files without any problems. After receiving his Bachelor’s and Master’s degrees in Computer Science he spent several years working in IT management for small businesses. However, he now works full time writing content online and creating websites. His main writing topics include iPhones, Microsoft Office, Google Apps, Android, and Photoshop, but he has also written about many other tech topics as well. Read his full bio here.
You may opt out at any time. Read our Privacy Policy