If you would rather not bother with Cortana at all and would prefer it be gone from your system you can uninstall it. Here’s how. Important: To uninstall Cortana you need to be running the Windows 10 May 2020 Update or higher.
How to Uninstall Cortana
You can quickly uninstall Cortana from Windows using these steps: You can also follow our more detailed walkthrough below.
Uninstall Cortana from Windows 10 Using PowerShell
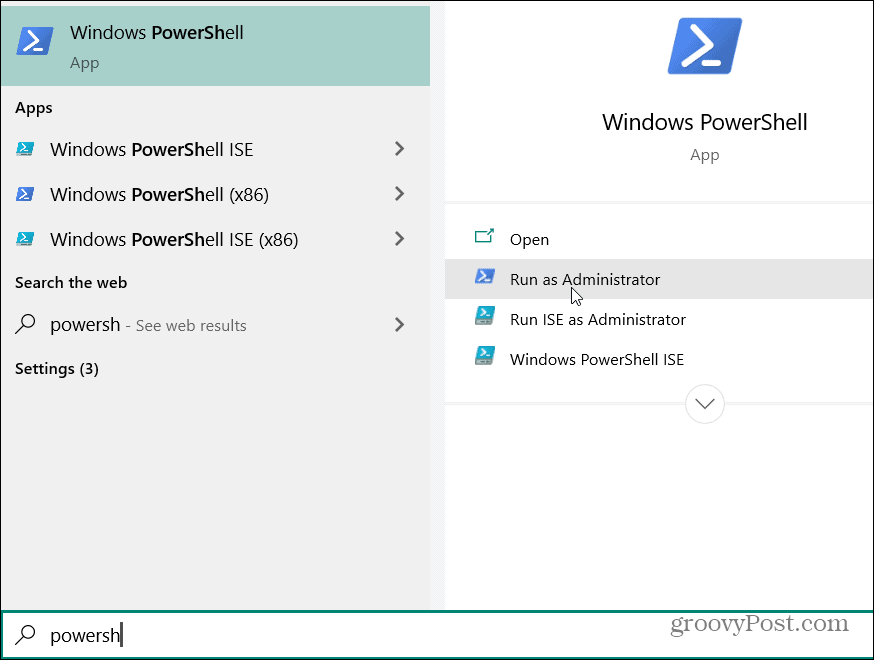
To uninstall Cortana from Windows hit the Windows key and type in: powershell and launch Windows PowerShell as Administrator from the Start menu.
Next, enter the following command into PowerShell and hit Enter: Get-AppxPackage -allusers Microsoft.549981C3F5F10 | Remove-AppxPackage
That’s all there is to it. Cortana is now removed from your system. You aren’t going to get a confirmation box or anything. Cortana is simply uninstalled after running the command. Note that after removing Cortana from your PC, the Cortana button will remain on the taskbar. To remove it, right-click the taskbar and uncheck “Show Cortana button” from the menu.
Reinstall Cortana on Windows 10
Now, all is not lost. Perhaps you may decide in the future that you want to install Cortana again. If so, you can. Open the Microsoft Store and search for Cortana and click the Get button. Then click the Install button and wait while Cortana is reinstalled on your PC.
Microsoft has upgraded the way Cortana works on Windows 10 May 2020 Update and above and it is no longer part of Windows 10. It is its own app. In addition, the company removed Skills and Notebook from the app. So, now it is easier than ever to uninstall or reinstall the digital assistant. The choice is yours and that is a good thing.
![]()


