Fortunately Google Slides has a handful of image-editing capabilities, including an option that lets you rotate your pictures a little bit. Our tutorial below will show you how to select an image and rotate it so that you can get that picture into the orientation that you need for your project. Need to know how to circle something in Google Docs or Slides? Our tutorial will show you how!
How to Turn Pictures in a Google Slides Presentation
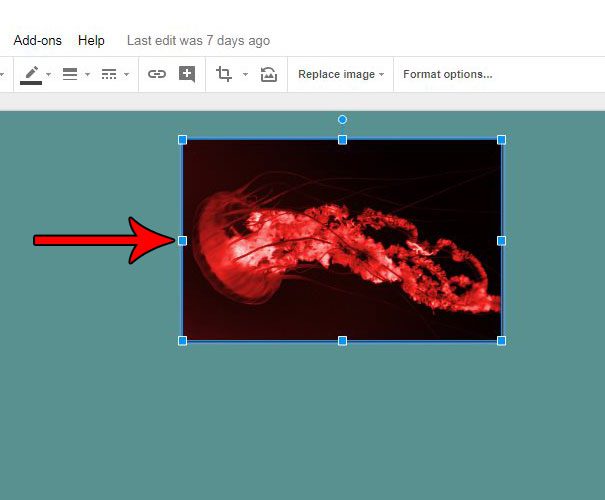
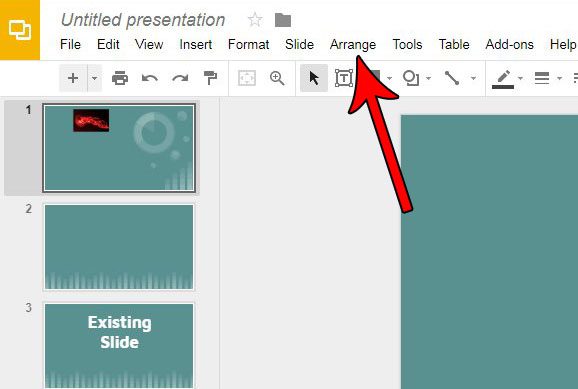
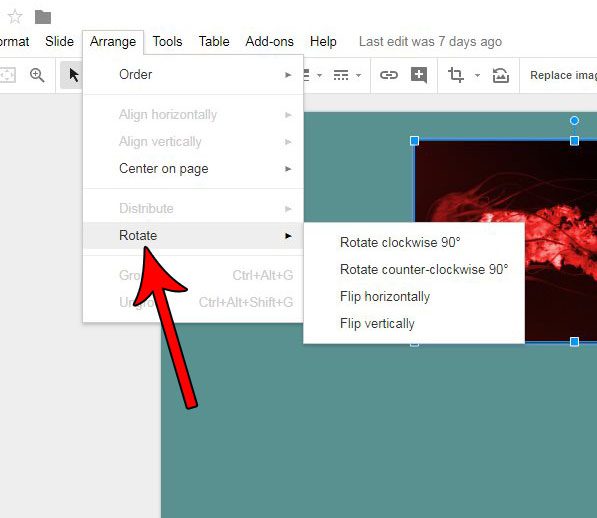
The steps in this article were performed in Google Chrome, but will also work in other Web browsers like Firefox, Edge, or Internet Explorer. This guide assumes that you have already added your picture to the presentation. Step 1: Sign into your Google Drive at https://drive.google.com/drive/my-drive and double-click the Slides file containing the picture that you want to rotate. Step 2: Click the picture to select it. Step 3: Select the Arrange tab at the top of the window. Step 4: Choose the Rotate option, then select the amount and direction that you would like to rotate the picture. Does your picture need a little editing before it’s ready to be shown to your audience? Find out how to crop a picture in Google Slides and remove the parts of the picture that aren’t needed for your presentation. After receiving his Bachelor’s and Master’s degrees in Computer Science he spent several years working in IT management for small businesses. However, he now works full time writing content online and creating websites. His main writing topics include iPhones, Microsoft Office, Google Apps, Android, and Photoshop, but he has also written about many other tech topics as well. Read his full bio here.
You may opt out at any time. Read our Privacy Policy