Manual page breaks in Excel 2013 provide you with the opportunity to let Excel know where it should start a new page when you print. Unfortunately, those manual page breaks can become a problem if you are deleting or adding rows and columns to your spreadsheet. If you find that a vertical page break is no longer in the correct spot, then you may need to learn how to remove a vertical page break in Excel. Our guide below will walk you through the process of locating and deleting a vertical page break from a spreadsheet. You can then either determine where to manually insert another page break, or you can use some of the options in this guide and have Excel automatically fit your columns and rows to single pages.
Excel 2013 – Remove Vertical Page Breaks
Our guide continues below with more information on removing page breaks in Excel 2013, including pictures of these steps. You can delete other things in Excel, even entire worksheets. Our guide on how to delete a sheet in Excel can show you a quick way to do this.
How to Delete Vertical Page Breaks in Excel 2013 (Guide with Pictures)
The steps in this guide were performed in Excel 2013, but will work for Excel 2010 and Excel 2016 as well. The result of this tutorial will be a spreadsheet that no longer has the vertical page break that you have elected to remove. Once you’ve completed this tutorial and are ready to start simplifying the process of comparing data, then something like this subtraction formula in Excel is a great place to start.
Step 1: Open the spreadsheet in Excel 2013.
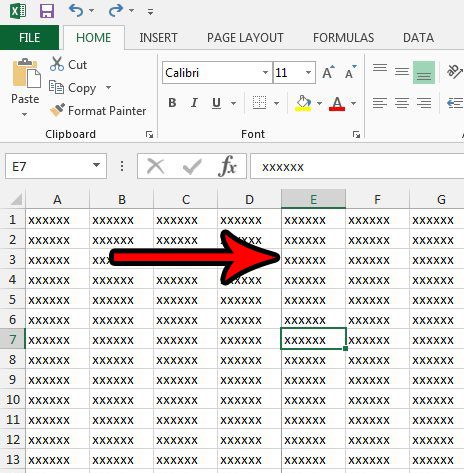
Step 2: Locate the vertical page break (the vertical gridline is slightly darker) then click a cell to the right of that gridline.
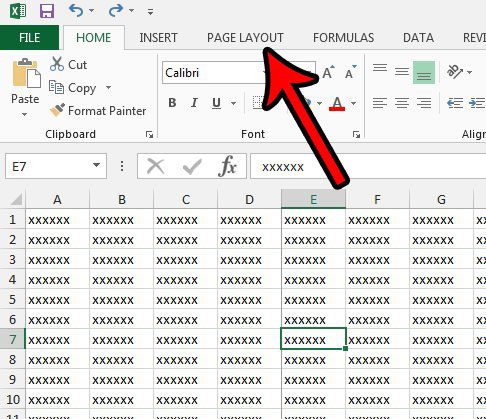
Step 3: Click the Page Layout tab at the top of the window.
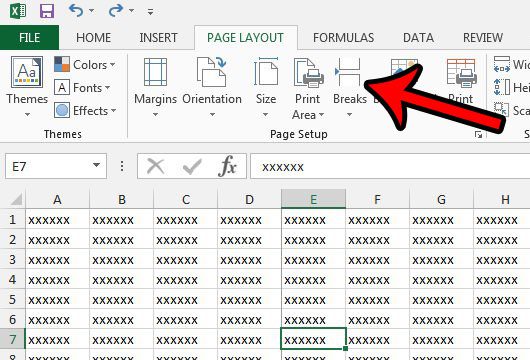
Step 4: Click the Breaks button in the Page Setup section of the ribbon.
This Page Setup group also includes other useful options that let you control the page margins, page orientation, print area, paper size, and more.
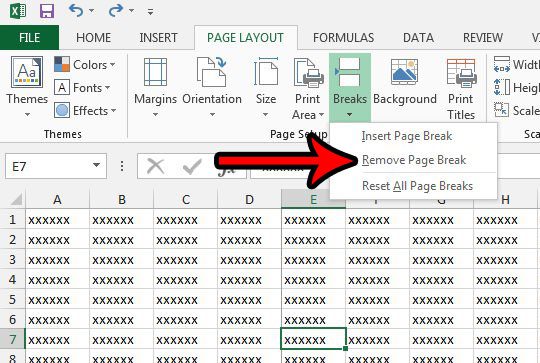
Step 5: Click the Remove Page Break option.
Our tutorial continues below with additional discussion on working with page breaks in Microsoft Excel 2013.
More Information on How to Remove a Vertical Page Break in Excel 2013
You can use a similar method to remove a horizontal page break from a spreadsheet as well. Simply click in a cell below the page break, then go to Page Layout > Breaks > Remove Page Break. Note that you can also elect to use the Remove All Page Breaks option if you have multiple page breaks that you want to get rid of. If you are having trouble seeing the manually inserted page breaks in your spreadsheet, or you are unsure on whether the automatic page break that Excel inserts automatically will conflict with a manual page break, then you may want to try looking at your spreadsheet in Page Break Preview mode instead. You can find this if you go to the View tab then click Page Break Preview in the Workbook View group in the ribbon. Note that when you click the Page Break Preview button the worksheet will remain in that view until you select one of the other view options. You can also find several workbook view options in the status bar at the bottom of the window. You can find the “Insert Page Break” option in the same location where you went to remove page breaks using the steps outlined above. Did you manually insert page breaks because Excel was splitting pages at bad spots? Learn how to adjust a spreadsheet to one page in Excel automatically and avoid some of the hassles that you might encounter with manual page breaks.
Additional Sources
After receiving his Bachelor’s and Master’s degrees in Computer Science he spent several years working in IT management for small businesses. However, he now works full time writing content online and creating websites. His main writing topics include iPhones, Microsoft Office, Google Apps, Android, and Photoshop, but he has also written about many other tech topics as well. Read his full bio here.
You may opt out at any time. Read our Privacy Policy


