One way to do this is with a Mac program called Hider2. You can visit the Hider2 Web page and download the program there. It was developed by a company called MacPaw that makes a number of other useful Mac utilities as well. You can install Hider2 on your computer to create a vault where you put all of your important files and folders behind a password of your choosing. Hider2 will then let you toggle your the password protection on and off if you need to access the files and folders you have elected to password-protect. Then, once you’re done, simply lock the vault and no one will be able to view or edit the files you are protecting with Hider2.
How to Lock a Folder on a Mac
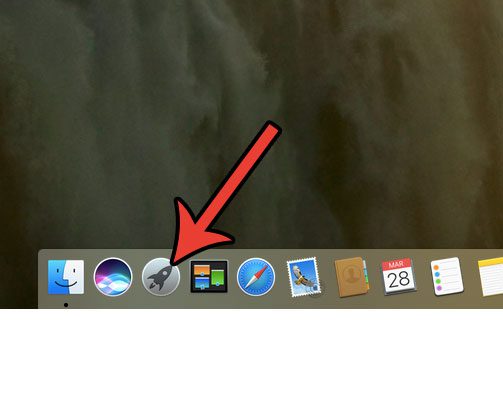
The steps below will show you how to use a program called Hider2 to add encryption to a folder on your Mac. You can read more about Hider2 and download it here. Once you have installed it on your MacBook you can follow the steps below to see how you can add password protection to a folder on your laptop. Step 1: Open the Launchpad.
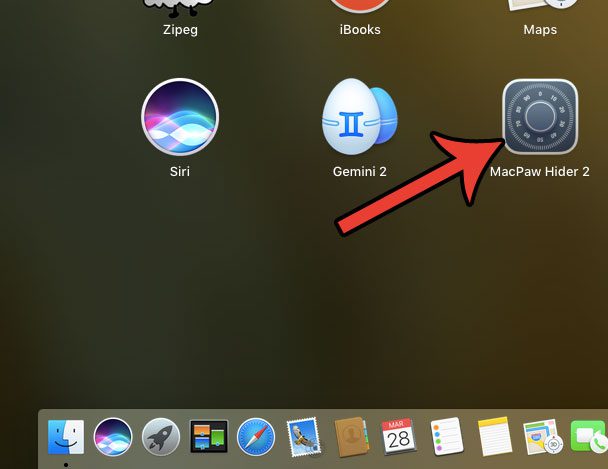
Step 2: Click the Hider2 app icon.
Step 3: Click the Next button a few times until you get to a screen that says Create Vault. Here you will enter a password and make a few other choices about how your file vault will work. Once you’re done, click the Create Vault button.
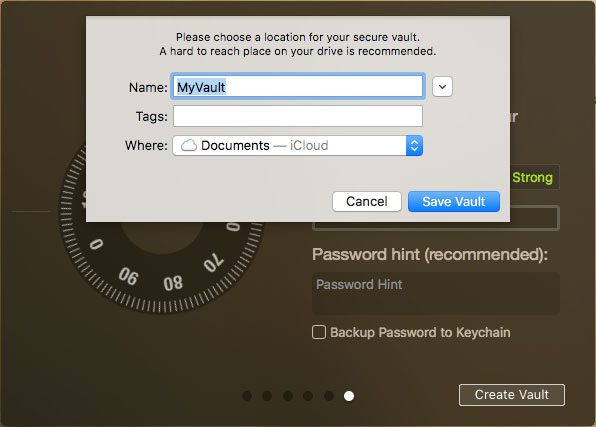
Step 4: Choose a name and location for your Hider2 Vault, then click the Save Vault button.
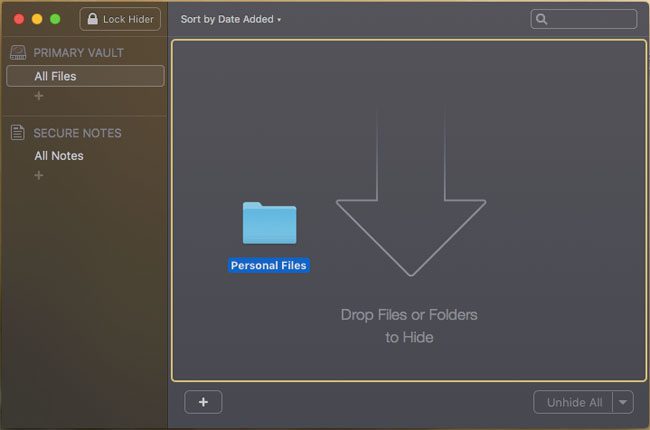
Step 5: Open Finder and browse to the folder that you want to password protect, then drag that folder to the arrow icon in the Hider2 window. You can also do this with a folder on your desktop.
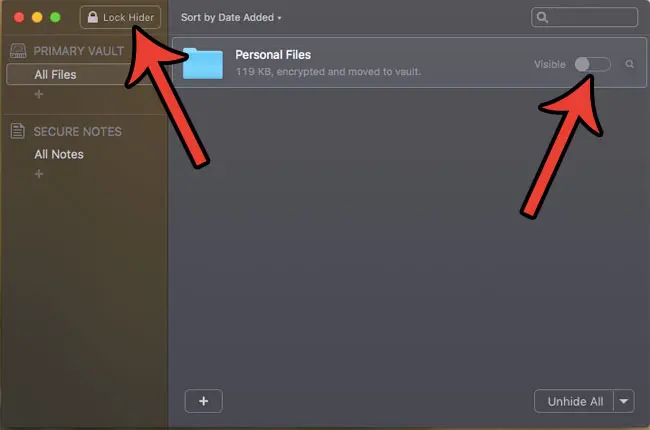
Any folders that you drag and drop into Hider will be hidden from their location. If you tap the Visible button next to the folder in the Hider2 application, the folder will be shown in its normal location. Once you are done adding folders to Hider2, click the Lock Hider button at the top of the window. The way that I use Hider2 is to always keep my folders hidden until I need them, then I make sure to hide them once I am done with them. This ensures that your important and sensitive information is always protected by the password that you created.
You can access your hidden, password-protected files later by launching Hider2, then entering your password and making the folder visible.
Download Hider2 here if you are ready to start password protecting the files and folders on your MacBook. Do you need to free up space for new files and apps on your Mac? Learn how to delete junk files on a MacBook by removing files that you don’t need, or aren’t using anymore. After receiving his Bachelor’s and Master’s degrees in Computer Science he spent several years working in IT management for small businesses. However, he now works full time writing content online and creating websites. His main writing topics include iPhones, Microsoft Office, Google Apps, Android, and Photoshop, but he has also written about many other tech topics as well. Read his full bio here.
You may opt out at any time. Read our Privacy Policy