But things can start to become a little more difficult when you need to add some additional types of information, such as an exponent. Fortunately, however, Excel does make it possible for you to include exponents in your data by following the steps below.
How to Add an Exponent in Microsoft Excel for Office 365
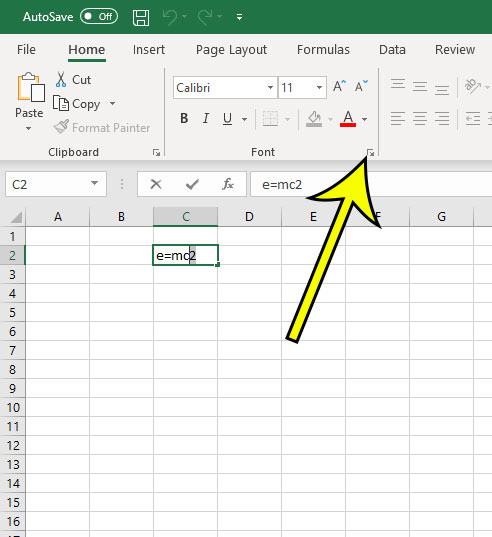
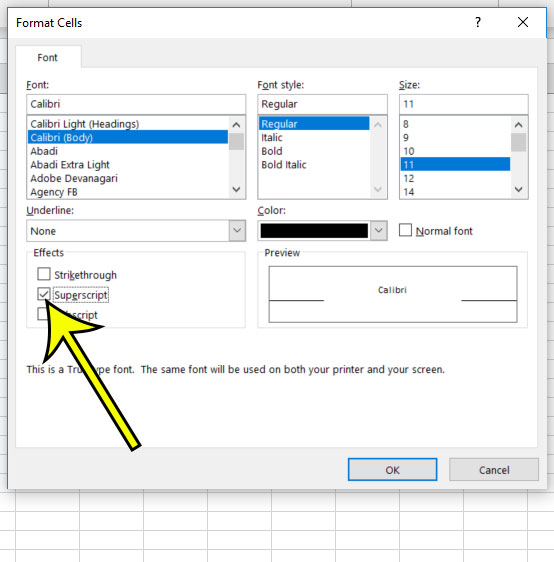
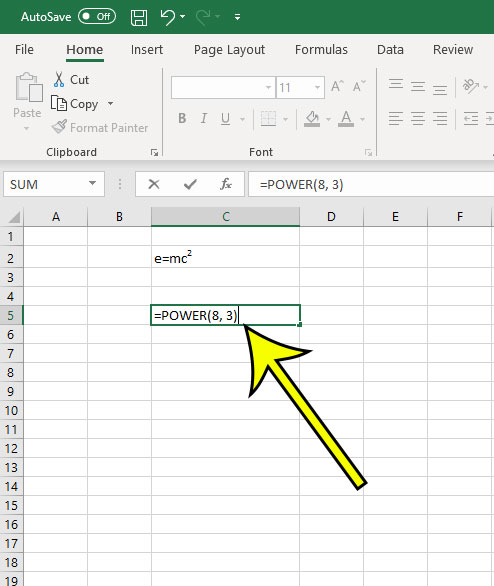
The steps in this article were performed in the desktop version of Microsoft Excel for Office 365, but will also work in most other desktop versions of Excel as well. The first part of this article is going to focus on displaying a value as an exponent in Excel without calculating it. After that we will show you how to use the POWER formula to perform a calculation involving an exponent. Step 1: Open your file in Excel. Step 2: Click in the cell where you wish to add the exponent. Step 3: Type the full text for the cell, then use your mouse to highlight the number that you want to be an exponent. Step 4: Select the Home tab at the top of the window, then click the small Font Settings button at the bottom-right corner of the Font section of the ribbon. Step 5: Check the box to the left of Superscript, then click the OK button. If you want to perform a calculation involving an exponent, click inside the cell where you wish to display the result, then type the formula: =POWER (X, Y) but replace x with the base number and y with the exponent. In the image below I am determining the result of 8 to the 3rd power. Does some of the text in your spreadsheet have formatting that is proving difficult to remove? Find out how to quickly clear all cell formatting in Excel and revert to the default formatting settings. He specializes in writing content about iPhones, Android devices, Microsoft Office, and many other popular applications and devices. Read his full bio here.