Whether this is the font, the document margins, spacing after paragraphs, or the alignment, using the right formatting can make your data easier to read, and more visually appealing. If you want to indent text in Google Sheets then you can select your cells, click Format > Number > Custom number format at the top of the window, then enter some blank spaces followed by an “@” symbol and click Apply. Google Sheets has amazingly convenient features that make our lives easier than ever. But some people get confused while arranging these sheets according to their preference. That’s why, you may ask, how do I indent text in Google sheets? Well, there are several ways you can do that, and the methods can be a little convoluted since Google Sheets doesn’t have a dedicated way for you to indent your data. We’ll discuss all the processes, from custom number formatting to adding indentation using a column. Here we’ll be sharing tips on indenting text in a cell and many more tricks for making a Google spreadsheet useful. So, without wasting any more time, let’s get into how you can create that indentation.
How to Indent Google Sheets Cells
Our guide continues below with additional information on indenting cells in Google Sheets including pictures of these steps. Find out how to add bullet points in Google Slides if you are trying to make your lists look better on your slides.
How to Indent Text with Custom Number Formatting (Guide with Pictures)
The custom number format is a feature that decides how a user sees the text or a value within a cell of your Google sheets. When you’re trying the number format, you can use this method. So, let us give step-by-step instructions on how to indent within a cell in Google sheets.
Step 1: Open the Google Sheets file.
Sign in to your Google Drive and double-click the file where you wish to add the indent.
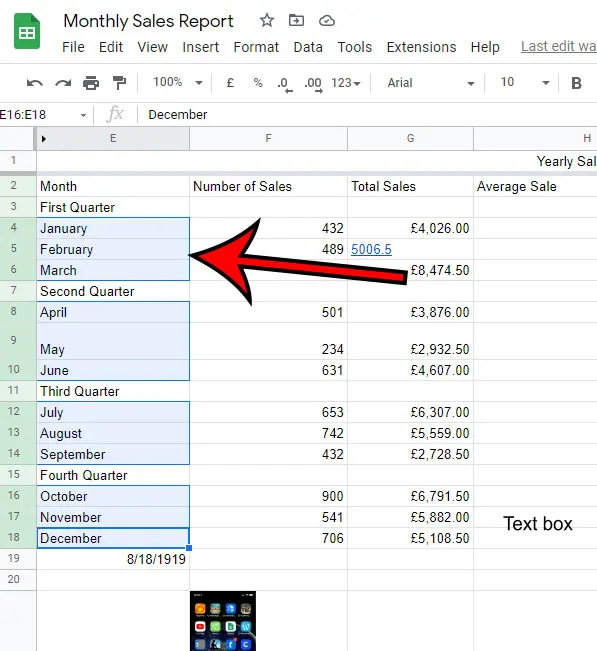
Step 2: Pick your cells.
First of all, you need to choose the cells of the Google sheets you want to indent. Then, press and hold the CTRL key to select multiple cells. You can do this even when the cells are non-contiguous.
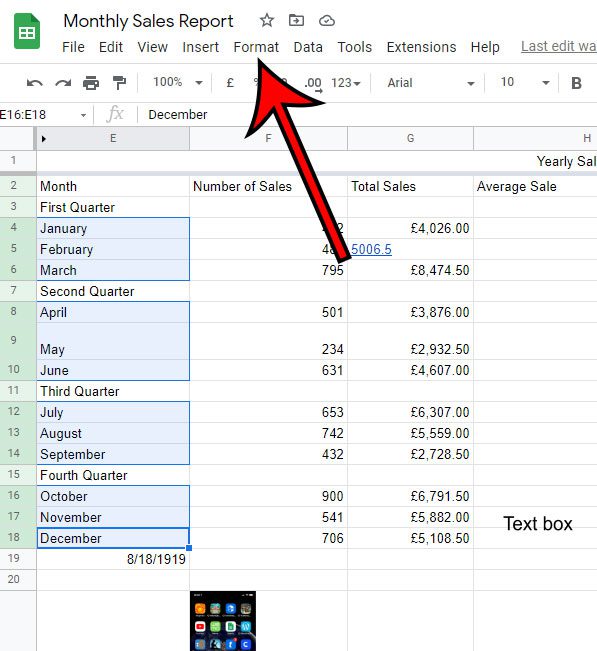
Step 3: Select the Format option from the menu at the top of the window.
Now, while holding the selected cells, access the Format menu to see the additional menu option. And when more formats are available on the screen, you’ll see the More Format option. Just point the cursor on this tab, and you’ll see some additional choices.
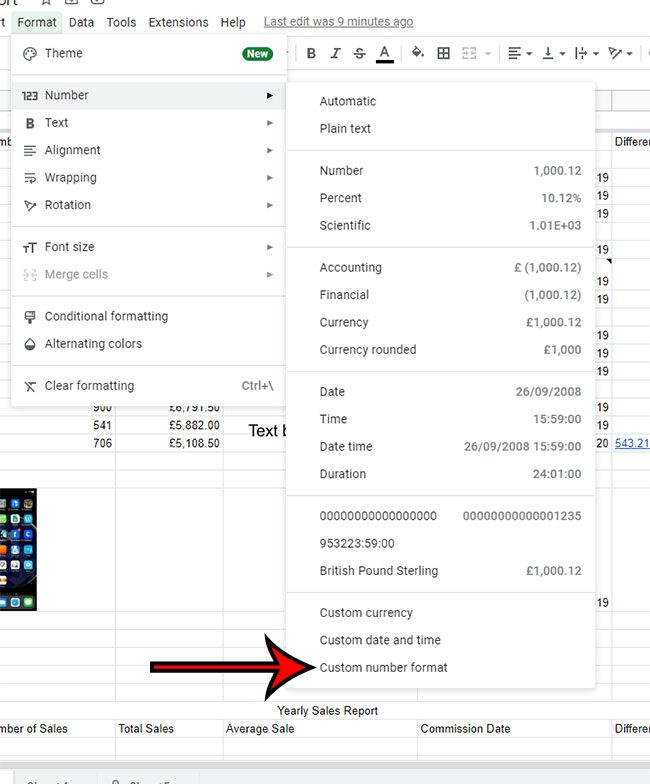
Step 4: Click Number from the list of formatting options.
Even if the data in your cell isn’t numbers, you need to choose this option because you need the custom option that we are choosing in the next step.
Step 5: Choose Custom number format.
After expanding the Number formatting option, there will be a Custom number format option on the bottom of the menu. Click on it to see what this option has to offer.
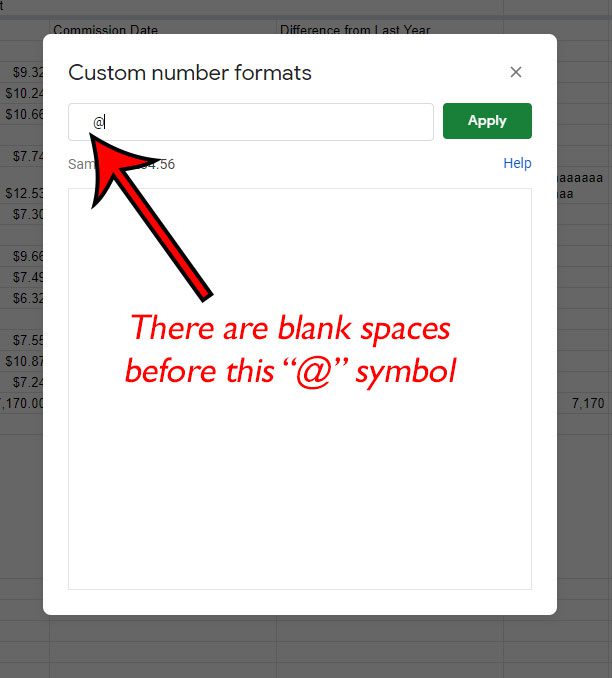
Step 6: Manually specify your indentation by typing the desired number of spaces to include in the indentation, followed by an @ symbol.
After clicking inside the Custom number formats dialog box, you have to type the format you want to see in the cells of your Google spreadsheets. In my image below I have typed ” @” without the quotation marks. That is 5 blank spaces, followed by the @ symbol since I want 5 spaces in my indent. When you add indentation using the custom format feature, you can change the appearance of the data in the cell, but not the actual data in the cells. If you were to copy the indented cells, for example, and paste them into another application, it would not include the spaces. If you also work with Excel spreadsheets and want to know more about the formatting choices there, then this guide will show you how to change a cell format. If you feel the necessity to have more indentation inside the formatted cells, simply use more space characters in front of the @ symbol. Adding the @ symbol as part of this formatting is what causes the text in the cell to display and keep the indentation as part of the cell. If you were to just add some blank spaces without that @ symbol, then nothing would change. It may seem a little awkward at first, but it makes sense once you do it the first time and see what happens. And then you can even use more or fewer spaces without any issue. Find out how to do hanging indent on Google Docs if you have been trying to implement that style of indentation.
How to Apply the Same Indentation to Other Cells by Pasting Formatting
If you want to indent in the new cells, you can follow the same steps we described in the section above. But if you want to work faster, you can copy the formatting from the cells where you have already applied the indentation. Just go to those cells, copy the format and paste it on the cells you’re working on. As you just copied and pasted it, the whole task will be completed in seconds. Otherwise, you had to apply the formatting in every single cell separately, which is a tedious task, to be honest. So, when you’re in a hurry, try the procedure given below to quickly apply this indentation formatting to more cells in your Google Sheets spreadsheet.
Step One – Select the cells.
First, you have to copy the cells from the section where you have already entered the indentation. You can select that cell by clicking on it. By pressing the Control Key and C simultaneously you are able to select more than one cell at a time. By using this trick, you can also select multiple cells if you want.
Step Two – Copy the cells.
When you’re done with selecting the cells, point the cursor of your mouse on the cells. Then, hit the right-click button, and multiple options will pop up in a dialog box. Now, pick Copy from the dialog box, and the cells will be saved in the clipboard.
Step Three – Paste the cell formatting.
After copying the formatting from the desired cells, select the cells where you wish to apply the format. Following that, click Edit at the top of the window and choose the Paste Special option. When the Paste Special menu opens up, select the Format Only option. And then your format will be pasted just like that. You can also paste a format with the Ctrl + Alt + V keyboard shortcut. So, if you don’t want to indent every individual cell and want to finish your Google Sheets work in the shortest amount of time, try this method and take advantage of the properly-formatted cells that you have already created. You can also check out our guide on how to wrap text in Google Sheets if you need to change the way that your data is displayed inside of your cells.
How to Add Indentation with a Second Column
If you don’t want to or are unable to use the formatting method that we described above, then you can try an alternate way to achieve the desired result. Essentially we are going to we using two columns instead of one, where the non-indented text goes in the left column, and the indented text stays in the right column. This might seem a little confusing at first, but once you apply it, managing your Google Sheets will be much easier! We’ll now tell you how to complete this process with detailed instructions to make things easier. So, let’s continue.
Step One – Select your column.
First, you will need to identify the column where you wish to apply the indentation. Now, take your mouse there and select the entire column by clicking on the column label at the top of the spreadsheet. Then, right-click on the selected column and choose Insert 1 left. This adds one column to the left side of the selected column.
Step Two – Resize the left column to the desired amount of indentation.
You can resize a column in Google Sheets by clicking the right border of the column letter and dragging it left or right.
Step Three – Cut and paste the data that you don’t want to indent into the left column.
When you’re done with inserting the column on the left and adjusting its width, you’ll see that the size of that column is at the level of indentation you want in your Google Sheets cells. So, now it’s time for you to cut and paste the data from the right column that you don’t want to be indented into the left column. You can cut a cell by pressing Ctrl + X on your keyboard, then you can paste it into the left column with Ctrl + P. Repeat this until you have moved all of the desired data to the left column. You should now have data split into two columns that look like one indented column. Just click on the cell to add your data if you’re going through this situation. After that, hold the space bar for however long you want your indent to be. While going through this situation, click on the cell where indentation needed to be added. And for doing that, keep the space bar pressed for a significant amount of time. The holding time depends on how many empty spaces you want to include in the targeted indent. Following that, write the first text and press enter to complete the procedure. The script editor on Google Forms allows you to do many different things. Let us give you some ideas.
You can add Google Analytics to your Google Sheets file using this feature. It allows you to add thesaurus in your Docs. If you want to add any interactive questions to your presentation, the script editor allows you to do that. Add any custom menus and windows with Google Apps script.
Yes, if you want to copy bullet points from any other documents or Excel sheets, you can do that by using options on the mouse’s right-click menu.
The Bottom Line
So, here is everything you need to know about how to indent text in Google Sheets. The procedure may feel a bit complicated initially, but you’ll get familiar with it over time. Unfortunately, there isn’t an alignment or indentation option that you can use to format your cells like you would find in Google Docs, but this method will help you to achieve the desired appearance, even if it is a bit more complicated.
Additional Sources
After receiving his Bachelor’s and Master’s degrees in Computer Science he spent several years working in IT management for small businesses. However, he now works full time writing content online and creating websites. His main writing topics include iPhones, Microsoft Office, Google Apps, Android, and Photoshop, but he has also written about many other tech topics as well. Read his full bio here.
You may opt out at any time. Read our Privacy Policy