While you have many options for changing the way your screen looks in Windows 10, one option that you might want to try is called High Contrast Mode. Our tutorial below will show you where to find and enable this setting so that you can see if it is an improvement from your current settings.
How to Put Windows 10 in High Contrast Mode
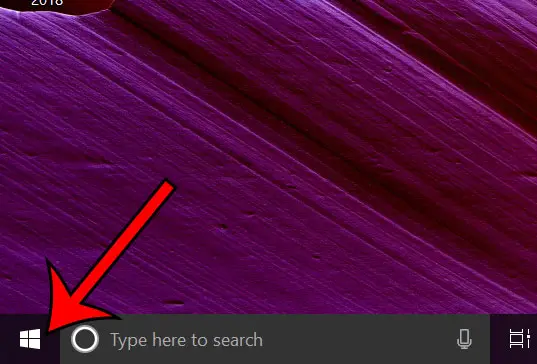
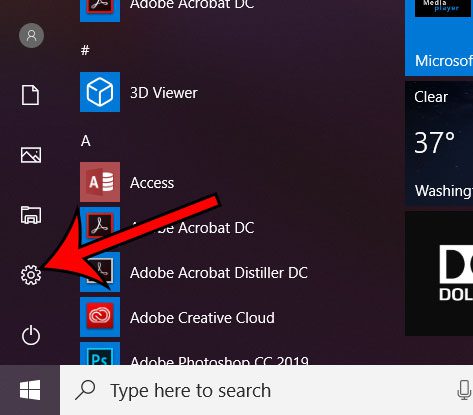
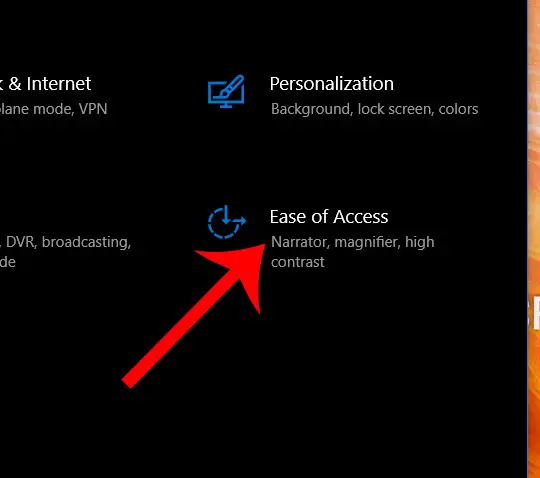
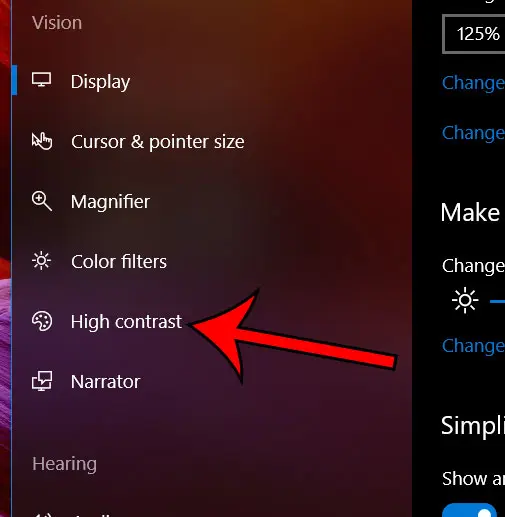
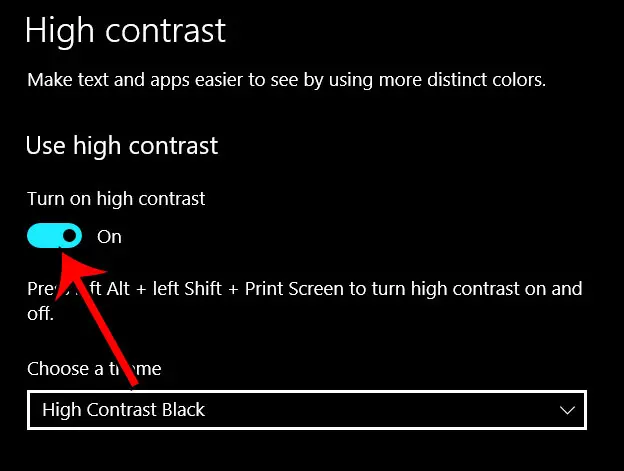
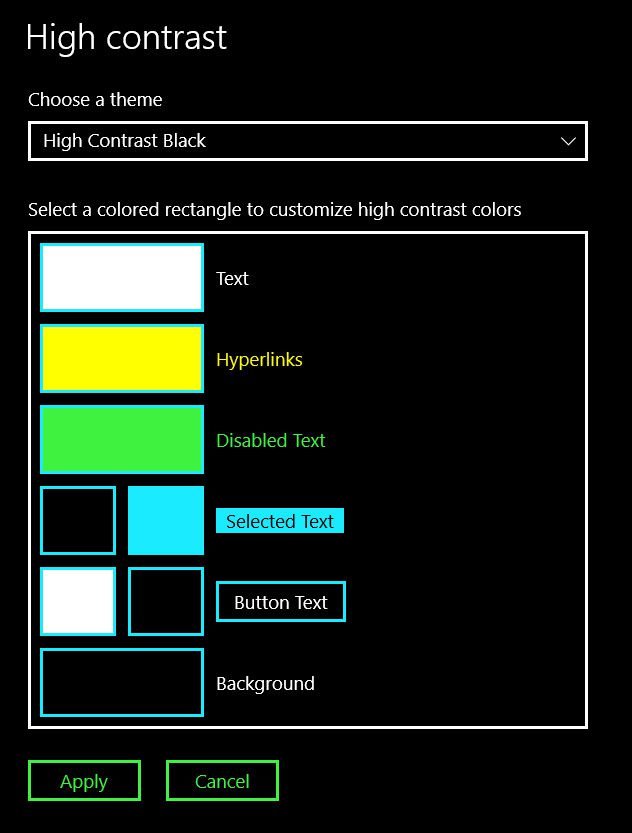
The steps in this article were performed on a Windows 10 laptop. By adjusting this setting you are going to be changing the way that things look on your screen. For some people, High Contrast Mode can be difficult to use, and might even cause more strain on your eyes. If you find that you don’t like the way it looks, you can always turn it back off. Step 1: Click the Start button at the bottom-left of the screen. Step 2: Select the gear icon at the bottom-left of the Start menu. Step 3: Choose the Ease of Access option. Step 4: Click the High contrast tab at the left side of the window. Step 5: Click the button under Turn on high contrast to enable it. Your screen will switch over immediately. Note that you then have the option of choosing a theme, or adjusting individual elements in high contrast mode. You can also use the keyboard shortcut of left Alt + left Shift + Print Screen to enable and disable High contrast mode as well. Have you enabled dark mode in places like YouTube and Twitter? Find out how to turn on dark mode in Windows 10 if that is something that you think could help your experience. After receiving his Bachelor’s and Master’s degrees in Computer Science he spent several years working in IT management for small businesses. However, he now works full time writing content online and creating websites. His main writing topics include iPhones, Microsoft Office, Google Apps, Android, and Photoshop, but he has also written about many other tech topics as well. Read his full bio here.
You may opt out at any time. Read our Privacy Policy
