Unless they were using an unusual font, it’s very likely that what you saw was the small caps effect in Word. Our tutorial below will provide you with more information on how to use the small caps feature in your Word document.
How to Type in Small Caps in Microsoft Word
Our guide continues below with additional information on how to use small caps in a Word document, including pictures of these steps. When you type in a document in Microsoft Word using the default settings, you will get a mixture of capital and lowercase letters. But some scenarios call for you to use small caps in Word, which are smaller versions of the capital versions of letters. Fortunately, this is something that you can accomplish by changing a font option within Word. Our tutorial below will show you where to find this setting so that you can start typing in small caps. You can even apply small caps to existing text if you would like to convert it by making one small adjustment to the process.
How to Do Small Caps in Word 2013 (Guide with Pictures)
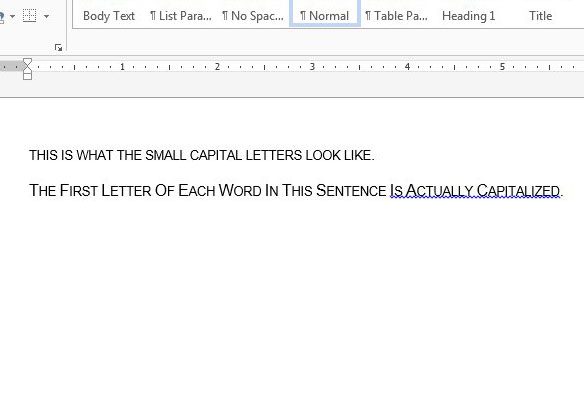
The steps in this article were performed in Microsoft Word 2013. By completing the steps in this guide you will be able to start typing in small caps in Microsoft Word. At the end of this article, we will show a sample of what this looks like so you can see if it is the desired result. Note that actual capitalized letters (the ones that you type by holding the Shift key or by using Caps Lock) will still be their normal size. The other letters that would traditionally be lowercase letters are instead displayed as smaller versions of their capital letter form. Now that you know how ot do small caps in Word documents you will be able ot enable or disable this option whenever you need to change the setting for small capital letters in your document. When you type in your document, your letters will be small capital letters, as in the image below. Note that everything you type will use these small caps until you turn them off. You can select font options like the size or color and apply them to the small caps in the same way that you would format any other text. There are a bunch of other useful options on the Font window as well, including:
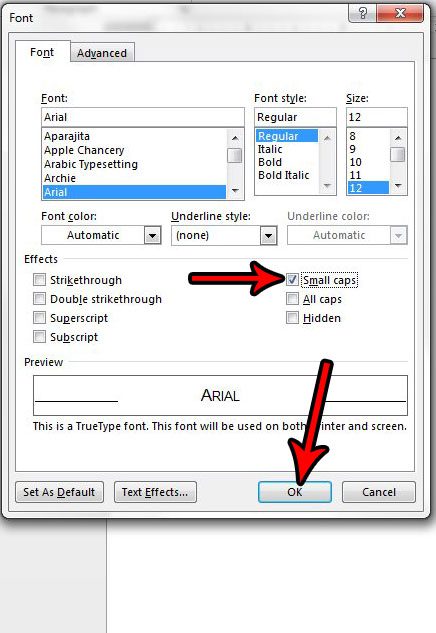
StrikethroughDouble strikethroughSuperscriptSubscriptShadowOutlineEmbossEngraveSmall capsAll capsHidden
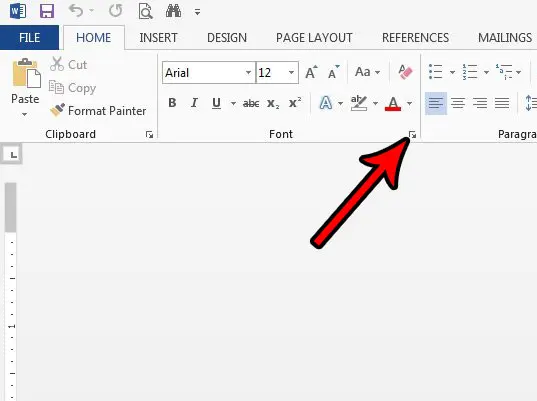
If you have existing text that you wish to convert to small caps, simply select that text first, then follow the steps above. The selection will then be converted to small caps. Do you have a part of your document that contains a lot of formatting that you don’t want? Find out how to remove formatting in Word 2013 and get rid of all of those formatting options in one step. Click Home, then click the Font button. Uncheck the Small caps check box in the Font window, then click OK to save the changes. Now when you type it will no longer use the small caps effects. You can then go to the Font menu as discussed above and check the Small caps checkbox, then click OK. The selected text will now be in small caps. Note that the first letter may be larger if it was previously capitalized. If you press the Ctrl + Shift + K keyboard shortcut you can start typing in the small caps font. If you select an existing combination of lowercase characters and uppercase text then use the Ctrl + Shift + K shortcut you can convert all the letters to small caps. After receiving his Bachelor’s and Master’s degrees in Computer Science he spent several years working in IT management for small businesses. However, he now works full time writing content online and creating websites. His main writing topics include iPhones, Microsoft Office, Google Apps, Android, and Photoshop, but he has also written about many other tech topics as well. Read his full bio here.