Our article continues below with additional information and pictures for these steps. If you create a CSV file in Microsoft Excel 2010, the file will look different if you open it in a text editor, like Notepad, than it does when you view it in Excel. Each cell of the CSV file is separated by a comma, and the structure that you see in Excel is handled differently when you are viewing the plain text document. Those commas represent the delimiters, which is the character that is splitting each of your fields. Comma delimiters are a common choice in CSV files, but they are not the only option and, occasionally, they might not work for the task that you are performing. We have previously discussed one way that you can change your delimiter in a CSV file, but this will not always be the solution for people that need to modify a CSV file. There is also a way to change the Windows 7 list separator, which means that any CSV file you create in Excel on your Windows 7 computer will utilize a delimiter of your choosing, instead of a comma.
Change the Delimiter Used By Excel on a Windows 7 Computer
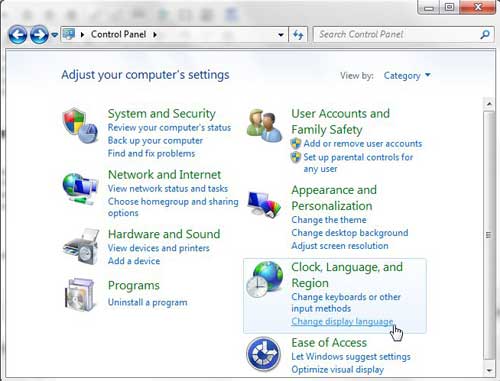
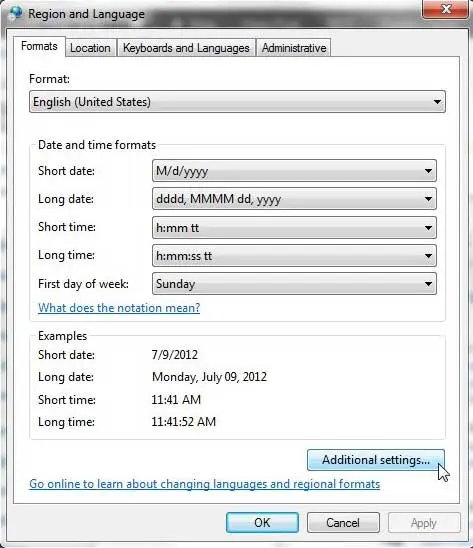
It is important to note that when you make this adjustment on your computer, you are changing the way that Excel creates CSV files. If you need to start using comma delimiters again, you will need to repeat the steps in this article to restore the comma as the Windows 7 list separator. Continue reading to learn the procedure that you will need to use to make this Windows 7 list separator change. Step 1: Click the Start button at the bottom-left corner of the window, then click Control Panel. Step 2: Click the Change display language link in the Clock, Language and Region section of the window. Step 3: Click the Formats tab at the top of the window, then click the Additional Settings button at the bottom of the window. Step 4: Click inside the List Separator field, then replace the value with whatever character you want to use instead. In the image below, for example, I have replaced the comma with a pipe. Step 5: Click the Apply button, then click the OK button. If you want to test out your new settings, open Excel 2010, and create a sample CSV file. Save the file, close it, then open the CSV file in Notepad. You will see that the delimiters that were previously commas have now been replaced with whatever character you chose as your new Windows 7 list separator. Often people who create CSV files are doing so because they need to be uploaded to an online database, or imported into an application. These applications are notorious for being very picky about the formatting of their files, so it’s possible that the change you make won’t work for the intended purpose. if that’s the case then you may need to adjust the Windows 7 list separator a couple of times until you find the right setting.
See also
How to connect an Xbox controller in Windows 10How to create a zip file in Windows 10How to enable the on screen keyboard in Windows 10Where is the control panel in Windows 10?How to change the screen resolution in Windows 10
After receiving his Bachelor’s and Master’s degrees in Computer Science he spent several years working in IT management for small businesses. However, he now works full time writing content online and creating websites. His main writing topics include iPhones, Microsoft Office, Google Apps, Android, and Photoshop, but he has also written about many other tech topics as well. Read his full bio here.
You may opt out at any time. Read our Privacy Policy