Setting the Contact Card on Your MacBook Air
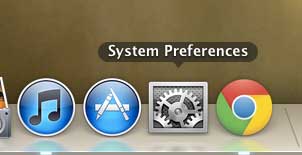
My interest in this topic stemmed from an initial problem when I was importing new contacts. iOS kept pre-filling my information with information from another contact card that I had stored in iCloud. It wasn’t immediately obvious how to change this setting so, after some digging, I found how I needed to go about using a different contact. Simply follow the information below to learn how to make that change on your own MacBook Air. Step 1: Click the System Preferences icon in the dock at the bottom of your screen.
Step 2: Click the Users & Groups option in the System section on the System Preferences window.
Step 3: Click the Open button to the right of Contacts Card at the center of the window.
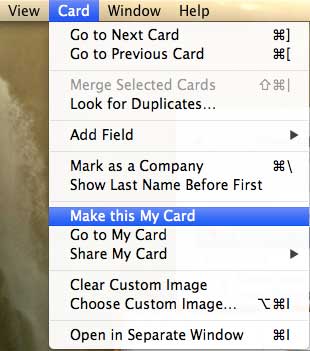
Step 4: Click the contact card from the list of contacts that you want to use as your contact card. Step 5: Click Card at the top of the window, then click the Make this My Card option.
You should now have a silhouette to the right of the contact card that you just selected, and iOS will use the information on that card to pre-fill any information that requires a contact card. If you have been wondering about how to set up and use iCloud on a Windows PC, you should read this article about changing iCloud settings with the iCloud Control Panel. After receiving his Bachelor’s and Master’s degrees in Computer Science he spent several years working in IT management for small businesses. However, he now works full time writing content online and creating websites. His main writing topics include iPhones, Microsoft Office, Google Apps, Android, and Photoshop, but he has also written about many other tech topics as well. Read his full bio here.
You may opt out at any time. Read our Privacy Policy